 Website


track landing page conversions
Track Landing Page Conversions With 5 Metrics and a Setup Checklist
Set GA4 key events, choose URL or event tracking, and match Google Ads conversions. Use WebsitePublisher’s checklist to build tracked landing pages.

Mark your core conversions as GA4 key events, then build matching Google Ads conversions from them. If a goal is as simple as a visitor reaching a thank-you page, use URL-based conversion setup. For button clicks, dynamic values, or transaction IDs, use event or code-based tracking instead, and tag every campaign link with consistent UTM parameters so GA4 and Google Ads report the same numbers.
TL;DR:
- Use “URL is” for a unique thank-you page; choose “URL contains” or “URL starts with” when parameters vary, and use event tracking for clicks or purchase values.
- Use automatic platform tagging wherever available, and add utm_source, utm_medium, and utm_campaign to every campaign link, especially email and partner referrals.
- Mark revenue or pipeline goals as primary conversions, keep behavioral events separate, and import GA4 key events into linked Google Ads accounts.
- Count one conversion per session for lead generation and every purchase for online sales; check attribution settings after bidding changes because reports can shift.
- Before trusting results, verify events in GA4 DebugView, inspect tag behavior in Tag Assistant, and confirm a test conversion appears in Google Ads. Newly marked GA4 key events can take 24–48 hours to become available for import.
Table of Contents
- 1. Essential metrics for tracking landing page performance
- 2. How to set up conversion tracking: URL-based vs. event-based
- 3. Choosing KPIs and attribution settings for reliable reporting
- 4. Tools, integrations, and a short implementation checklist
- 5. WebsitePublisher practical checklist and how-to resources
- 6. What to prioritize when you have limited time
- How WebsitePublisher helps you build tracked landing pages
- FAQ
- Sources
1. Essential metrics for tracking landing page performance
Before you touch any settings, decide what you are actually measuring. Primary conversions are the outcome that matters most: a completed purchase, a submitted lead form, a booked demo. Your conversion rate is conversions divided by sessions: if 2,000 people visit a landing page and 60 submit the form, your conversion rate is 3%. That number tells you little on its own, but tracked weekly against campaign changes, it becomes your clearest signal of what is working.
Primary conversions alone will not tell you why a page underperforms. That is where micro-conversions come in: smaller actions that happen before the final goal, such as CTA clicks, scroll depth past 75%, video plays, or starting a form without finishing it. The Nielsen Norman Group distinguishes primary conversions, the ultimate outcome you want, from micro-conversions, which are behavioral signals that reveal where prospects stall before they convert. A high form-abandonment rate paired with strong CTA clicks usually points to a form that is too long or asks for too much too soon.
Traffic source data matters just as much as on-page behavior: without it, you can see that a page converts but not which campaign sent the visitors who converted. This is why UTM parameters are not optional for anyone running more than one channel.
Round out your metric set with:
- Bounce rate and exit rate: a high bounce rate on a page meant to convert in one step usually signals a message mismatch between the ad and the page.
- Average time on page: very short times often mean visitors did not find what the ad promised.
- Cost per conversion: for paid landing pages, divide ad spend by conversions to see whether the math actually works.
- Scroll depth and CTA click rate: these micro-conversions show whether visitors are engaging before they leave.
- Form abandonment rate: the share of visitors who start a form but never submit it.
UTM parameters commonly tracked include utm_source, utm_medium, utm_campaign, plus the optional utm_id and utm_source_platform, and skipping them tends to produce (not set) values in your reports, according to Analytics Mania. That one gap in tagging discipline is often the reason a campaign report looks incomplete months after launch.
2. How to set up conversion tracking: URL-based vs. event-based
Once you know what to measure, you need to decide how to capture it. Google Ads gives you two paths: setting up conversions with a URL, which requires no code, or setting up conversions with code, which captures clicks, dynamic values, and transaction details, as described in Google Ads’ conversion setup guide. Here is how to choose and implement each.
- Start with URL-based conversions for simple goals. If success means a visitor loading a specific thank-you or confirmation page, URL-based setup is the fastest option. You pick a match rule such as “URL is”, “URL contains”, or “URL starts with” for that destination page, and Google Ads counts a conversion every time someone lands there.
- Choose the right URL match type. Use “URL is” when the thank-you page URL is fixed and unique. Use “URL contains” or “URL starts with” when the destination includes dynamic parameters but shares a common path, such as
/thank-you/. - Switch to event or code-based tracking for anything beyond a page load. Button clicks, add-to-cart actions, or purchases with a dollar value need a tag that fires on the specific interaction, usually deployed through Google Tag Manager. This method also lets you pass transaction IDs and variable values, so a $49 purchase and a $490 purchase are recorded with their actual amounts rather than as identical events.
- Apply UTM tagging consistently across every campaign link. At minimum, use
utm_source,utm_medium, andutm_campaignon every paid and email link. Addutm_idorutm_source_platformwhen you need to match specific line items back to ad platform reporting, a recommendation detailed in Analytics Mania’s UTM guide. - Link your GA4 property to Google Ads. This connection lets you import GA4 key events directly into Google Ads as conversions, avoiding duplicate tagging work. Rather than building separate tags for each platform, you mark an event once in GA4 and reuse it.
- Test every conversion before you trust the numbers. Use GA4 DebugView to confirm an event fires correctly, Tag Assistant to check that tags load without errors, and a live test conversion to confirm it appears in Google Ads reporting. Newly marked GA4 key events can take 24–48 hours to become available for import, and imported conversion data can take up to 24 hours to show in Google Ads.
The setup itself is approachable: Google’s walkthrough covers three methods (setting up with a URL, setting up with code, and using Google Tag Manager) and requires the code-based setup whenever you need button clicks, transaction IDs, or dynamic values.
Pro Tip: Build your URL-based conversion first, even if you plan to add event-based tracking later. A working, if imperfect, conversion count beats weeks of clean data lost while code deployment is in progress.
3. Choosing KPIs and attribution settings for reliable reporting
Not every tracked action deserves equal weight in your reports. Keep your primary conversions, the ones tied directly to revenue or pipeline, separate from micro-conversions that describe behavior along the way. Both matter, but mixing them into one undifferentiated conversion count makes it impossible to tell whether a campaign is actually driving sales or just generating clicks.
In GA4, any event can become a key event, and conversions built from key events report consistently across both Analytics and Google Ads once the accounts are linked, according to Google’s guidance on conversions versus key events. Marking a micro-conversion such as a CTA click or GA4’s built-in scroll event (which fires at 90% depth) as a key event can surface exactly where users drop off before completing the primary goal. If you import it into Google Ads, set it as a secondary conversion so it does not influence bidding.

Attribution model choice changes what your reports actually say. GA4 lets you choose between models like data-driven and last-click, and switching between them changes how credit for a conversion gets assigned, sometimes producing fractional credit across multiple touchpoints under data-driven attribution, per Google’s documentation on reporting attribution models. That same guidance notes that changing models can shift reported metrics like total revenue and purchase revenue, so a sudden jump or drop in a report is often an attribution change, not a real performance shift.
A few practical decisions worth locking in early:
- Pick a counting method that matches the goal type. Use “one” per session for lead generation, where a single submission is what matters, and “every” for e-commerce, where each purchase should count separately.
- Review attribution settings when you change bidding strategy. A shift to automated bidding often assumes data-driven attribution, so check that your model matches your strategy.
- Re-check key events quarterly. Pages and funnels change, and an event marked as “key” six months ago may no longer reflect your actual primary goal.
4. Tools, integrations, and a short implementation checklist
A workable stack for most teams is GA4 paired with a Google tag or Google Tag Manager, plus Google Ads when campaigns are paid. GTM is worth the setup time once you have more than two or three events to manage, since it lets you add or adjust tags without touching page code each time.
Form and CRM integrations matter for lead-based goals. When a lead submits a form, passing that lead’s ID or a hashed email into your tracking setup allows enhanced conversions to match a later sale back to the original campaign, even if the purchase happens offline or weeks later.
Auto-tagging versus manual UTMs is worth getting right from day one. Auto-tagging through platform integrations provides richer, platform-specific campaign dimensions and reduces the (not set) values that come from inconsistent manual tagging, according to Google’s explanation of traffic-source dimensions. Use auto-tagging wherever a platform supports it, and reserve manual UTMs for channels without a native integration, like email or partner referrals.
Test everything before launch using GA4 DebugView to confirm individual events, GTM’s preview mode to validate tag firing logic, and Tag Assistant to catch tags that fail to load.
- Confirm your base tag is installed on every landing page variant, not just the primary URL.
- Apply UTMs to every paid and email link before a campaign goes live.
- Mark your primary actions as GA4 key events rather than leaving them as plain events.
- Create matching Google Ads conversions from those key events once they are linked.
- Run a live test conversion and confirm it appears in Google Ads reporting.
| Checklist item | What to verify | Tool |
|---|---|---|
| Base tag installed | Tag fires on page load | GA4 DebugView |
| UTMs applied | No (not set) values in source/medium report |
GA4 traffic acquisition report |
| Key events marked | Primary actions appear under Admin > Data display > Key events | GA4 Admin |
| Conversions created | Key events imported into Google Ads | Google Ads conversion settings |
| Test conversion verified | Test conversion recorded in Google Ads | Google Ads conversion diagnostics |
5. WebsitePublisher practical checklist and how-to resources
A simple baseline works for most campaigns: build campaign pages with UTM-friendly URLs from the start, link a GA4 property before launch, and mark generate_lead or purchase as key events immediately so Google Ads conversions can be created from them without a second setup pass.
On WebsitePublisher, you add your GA4 or Google Tag Manager snippet once at project level and it is injected into every page automatically, including new landing page variants. From there, firing a generate_lead event when the lead form is submitted is a small change you can ask your AI assistant to make, and you then mark that event as a key event in GA4.
A few resources worth using as you build out tracked pages:
- For message-to-page alignment that affects your micro-conversion rates, see our guide on landing page personalization.
- For lead-capture layouts ready to connect to event tracking, see lead capture form examples.
- For passing lead data into enhanced conversions, see our walkthrough on connecting HubSpot to your site.
- For a full build walkthrough from prompt to published page, see building AI landing pages in 60 minutes.
6. What to prioritize when you have limited time
If you only have an afternoon, do two things: get primary conversion tracking accurate, and apply consistent UTM tagging across every live campaign link. Everything else, heatmaps, attribution tuning, A/B tests, can wait a week without costing you much.
Start with URL-based conversions to get a live, if rough, number flowing immediately, then layer in event-based tracking once code or tag manager access is available. Set a recurring monthly check on your attribution model and counting method. Business goals shift, and a counting method chosen for last year’s lead-gen push may not fit this quarter’s e-commerce launch.
How WebsitePublisher helps you build tracked landing pages
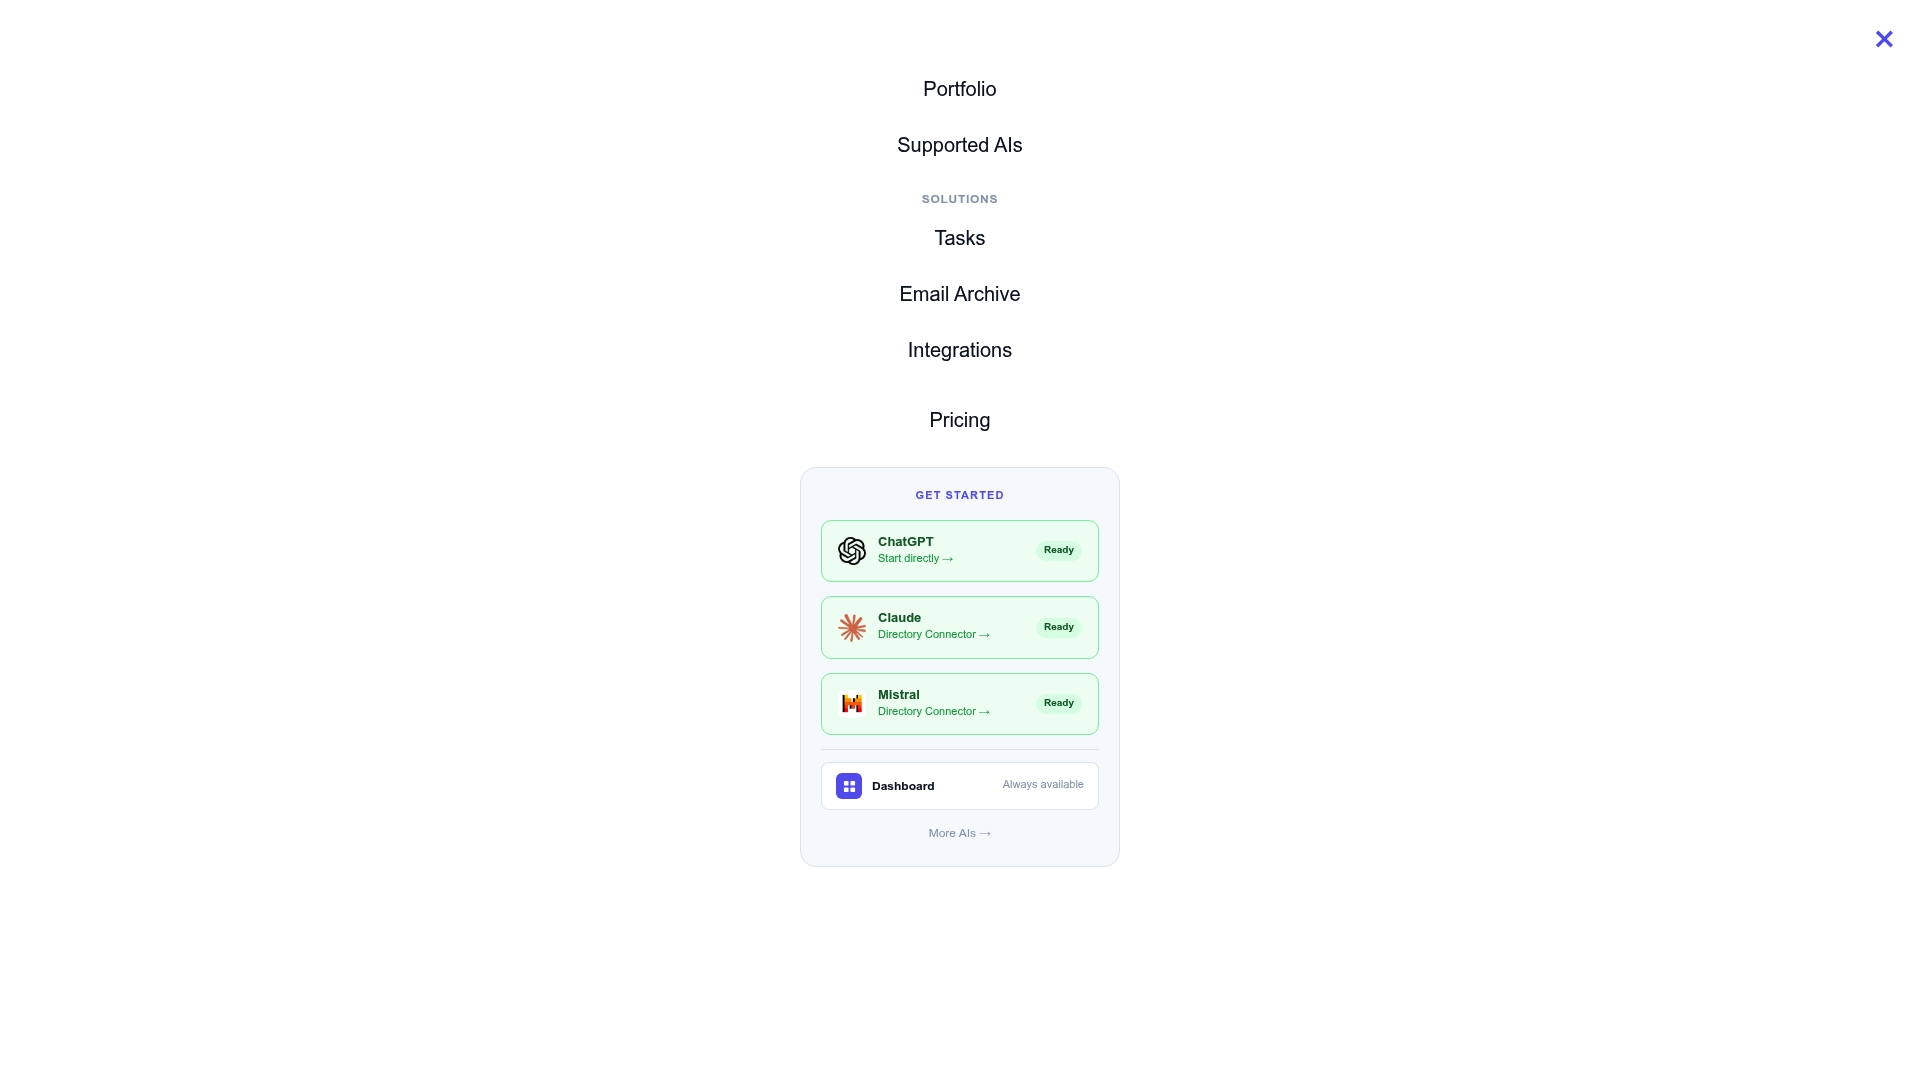
Once your tracking plan is set, building the page itself is usually the slower part, and that is where we remove the most friction. WebsitePublisher is the AI web platform: your AI assistant (ChatGPT, Claude, Gemini and others) builds and publishes websites and apps through the WebsitePublisher connector, including campaign landing pages like this one, with lead-capture forms and your GA4 or Tag Manager snippet on every page from the moment it goes live.
A typical flow looks like this:
- Describe the campaign landing page you need, and generate it through the WebsitePublisher connector.
- Apply UTM-friendly link structures to every campaign URL before you share it.
- Add your GA4 or Google Tag Manager snippet once, add a lead-capture form, and have your assistant fire a
generate_leadevent when it is submitted. - Form submissions are stored as leads on the platform; if your CRM is HubSpot, the HubSpot walkthrough shows how to connect it for enhanced conversions.
Every change you make is live immediately, with no separate deploy step, so a tracking adjustment or a new page variant goes live the moment you save it. If you are ready to build a landing page with tracking built in from the start, see our pricing plans to find the tier that fits your campaign volume.
FAQ
What is the difference between URL-based and event-based conversion tracking?
URL-based conversion tracking counts a conversion whenever a visitor loads a specific page, like a thank-you page, with no code required. Event-based tracking fires on a specific interaction, such as a button click or purchase, and can capture dynamic values and transaction IDs that a page-load conversion cannot.
Which UTM parameters should every campaign link include?
Every campaign link should include utm_source, utm_medium, and utm_campaign at minimum, with utm_id and utm_source_platform as optional additions for deeper platform matching. Missing these commonly produces (not set) values in your traffic reports.
What is a GA4 key event and why does it matter for conversion tracking?
A GA4 key event is any event you designate as a meaningful outcome, such as a lead form submission or purchase, and conversions built from key events report consistently across GA4 and Google Ads once the accounts are linked. Marking micro-conversions like scroll depth as key events can also reveal where visitors drop off before converting.
How does the attribution model affect my conversion reports?
Switching between attribution models, such as data-driven and last-click, changes how credit for a conversion is assigned, with data-driven models often splitting fractional credit across multiple touchpoints. This means a sudden change in reported revenue or conversions is often the result of an attribution switch rather than an actual performance shift.
Should I use auto-tagging or manual UTMs for my campaigns?
Use auto-tagging wherever your ad platform supports it, since it supplies richer, platform-specific campaign data and reduces the (not set) values caused by inconsistent manual tagging. Reserve manual UTM tagging for channels without native platform integration, such as email newsletters or partner referral links.
Sources
- UTM parameters in Google Analytics 4 — Analytics Mania
- Set up your web conversions - Google Ads Help
Recommended
- Fix Message Match First: Landing Page Personalization for Marketers
- How Marketers Build AI Landing Pages in 60 Minutes, Prompt, Edit, Ship
- Use Case Swipe File: Lead Capture Form Examples With Field Templates
Build your site the same way
Describe what you want. Your AI builds and publishes it — with the full stack behind it: data, auth, forms, payments, integrations and hosting.
See how it works →