 Website



email marketing automation website
Email Marketing Automation Website: How to Set One Up
Learn how an email marketing automation website works, which workflows to automate first, and how to connect forms, data and email tools to your site.

An email marketing automation website is a site wired to an email system that sends messages on its own when visitors act. Someone signs up, buys or goes quiet, and the right email goes out without you touching it. You need three parts: a site with forms, a place where contact data lives, and rules that decide who gets which email and when. This guide shows how those parts fit together and what to automate first. It also covers how to build the website and app side with WebsitePublisher, the full-stack AI web platform.
TL;DR
- Email automation means predefined rules send emails when a visitor does something, or does not.
- Start with five workflows: welcome series, lead nurturing, abandoned cart, post-purchase follow-up and re-engagement.
- Your site supplies the triggers: forms, purchases and events. Your email tool supplies the sending and the rules.
- Collect consent clearly, add an unsubscribe link and authenticate your sending domain before you send at volume.
- With WebsitePublisher, your AI assistant builds and publishes your websites and apps through the WebsitePublisher connector, and every change is live immediately.
Table of Contents
- What an email marketing automation website actually is
- Which workflows to automate first
- What you need before you build
- Building the website and app side with WebsitePublisher
- Connecting your site to your email tool
- How to build and test an automated sequence
- Consent, unsubscribes and deliverability
- Measuring whether it works
- Our perspective
- Build the site side with WebsitePublisher
- FAQ
- Sources
What an email marketing automation website actually is
The phrase covers two things people mix up. One is the email tool that sends messages. The other is the website that feeds it. You need both.
An automation platform uses predefined rules and conditional logic to send emails in response to user triggers. Connecting website analytics to that platform lets you target people by behavior, preferences and past purchases, without doing it by hand for every send. Another vendor describes the same idea as replacing manual sending with predefined workflows triggered by customer actions, dates or conditions.
So the website’s job is to produce clean triggers:
- A form submission creates a contact.
- A checkout creates a customer record.
- A booking creates an appointment.
- A page visit or a missing action creates a signal.
The email tool’s job is to react. If your site collects messy or incomplete data, no automation tool can fix that later.
Which workflows to automate first
You do not need twenty sequences. For small businesses and freelancers, one guide recommends five core workflows: a welcome series for new subscribers, lead nurturing sequences, abandoned cart recovery for stores, post-purchase follow-up, and re-engagement campaigns for inactive contacts. For service businesses, discovery-call confirmations are also worth automating.
Here is how each one maps to your site.
| Workflow | Trigger on your site | What the email does |
|---|---|---|
| Welcome series | Newsletter or lead form submitted | Introduces you, delivers what you promised, sets expectations |
| Lead nurturing | Contact form or resource download | Answers common questions, builds trust over several emails |
| Abandoned cart | Cart started, no purchase | Reminds the shopper and removes friction |
| Post-purchase | Order completed | Confirms, helps them use the product, asks for feedback |
| Re-engagement | No activity for a set period | Asks whether they still want to hear from you |
| Call confirmation | Booking made | Confirms time and shares prep details |
For length, one guide outlines a 3 to 5 email welcome series, and the same source describes a three-email abandoned-cart sequence. Treat those as starting points, not rules. Your own open and click data will tell you where to adjust.
Start with one workflow
Pick the workflow closest to revenue. For a store, that is abandoned cart. For a consultant, it is the confirmation and follow-up after a call booking. For a publisher or creator, it is the welcome series. Get one running and measured before adding another.
What you need before you build
The setup is simpler when you think in data, not tools. A solid email system rests on three data entities: profiles (individual records), events (a timestamped timeline of behavior) and subscriptions (consent and preference states). Identity resolution keeps the same person from appearing as three contacts across your integrations.
Translated to a small site, your checklist looks like this:
- A capture form that asks only what you need, usually an email address and one qualifying field.
- A contact store where each record has a source, a timestamp and a consent status.
- Event signals such as purchase, signup, booking or cancellation.
- A sending tool that can run rules against those contacts.
- A sending domain you control, with authentication set up.
- A measurement plan so you know what “working” means before you launch.
If you want a step-by-step walkthrough of the first item, our guide on wiring email capture forms covers the form side, including spam protection.
Building the website and app side with WebsitePublisher
WebsitePublisher is full-stack. That means hosting, auth, payments, forms, email, uploads and data are already built in behind the pages your AI assistant creates. You do not stitch together a separate backend before your first form works.
Here is how it works in practice. Your AI assistant (ChatGPT, Claude, Mistral, Cursor and others) builds and publishes websites and apps through the WebsitePublisher connector. The connector runs over MCP, the Model Context Protocol, an open standard that lets AI assistants call outside tools. You describe what you want in plain language. The assistant creates the pages, forms and data structures. Every change is live immediately, with no separate deploy step.
For an email automation setup, that gives you:
- Forms and data. Lead forms and a data store for contacts, built by your assistant.
- Payments. A checkout flow that produces the purchase events your post-purchase emails depend on.
- 140+ integrations. Your assistant connects tested integrations instead of generating untested glue code, so your site can hand contacts and events to your email tool.
- A visual browser editor. You can change copy and design later without asking your assistant to regenerate the page.
- Project memory. Task history stays across sessions and assistants, so you can switch AI tools without losing context.
A prompt to start with might read: “Build a landing page for my design studio with a newsletter signup form that stores each contact with the date and the page it came from, and a thank-you message after submitting.” Then you refine from there.
The automation rules themselves live in the email tool you connect. We do not pretend otherwise. What we do is make the website and app side fast to build and easy to wire up.
Connecting your site to your email tool
There are three common ways to link a site and an email platform. Pick by the volume and complexity of your data.
Native integrations
Where a direct integration exists, use it. One guide notes that native integrations give near-real-time synchronization, and middleware is the fallback for combinations that have no native link. For common setups we have walkthroughs: embedding a Mailchimp signup, setting up a SendGrid integration, and connecting HubSpot to your site.
Webhooks
A webhook sends a real-time notification when an event happens, such as a new order. Webhooks are a common integration method between sites and email platforms. Our guide to website webhook setup explains how one event can trigger two deliveries.
Custom APIs
For high data volumes or complex transformations, custom API integrations allow precise data mapping and real-time webhook processing. If your email or CRM system has an API, see how to connect a custom API in six steps.
Keep the data flowing both ways
A good setup sends engagement data back too. A bidirectional sync returns opens, clicks, unsubscribes and bounces to the contact record in your CRM. That keeps your sales follow-up honest: you will not pitch someone who just unsubscribed. For more on this, read how to connect a CRM to your website.
How to build and test an automated sequence
Follow this order. It keeps you from launching something broken.
- Define the trigger. Name the exact event: form submitted, order paid, booking made.
- Write the sequence on paper. List each email, its purpose and the delay between sends.
- Build the workflow in your email tool and connect it to the trigger.
- Test with your own address. Submit your own form and walk through the sequence.
- Check devices and inboxes. Standard advice is to test emails across devices and email clients before launching.
- Launch, then watch analytics and adjust content or send times.
Because changes on WebsitePublisher go live immediately, you can fix a form label or a thank-you page and see the result on the site right away. Test the site side the same way you test the email side.
If your sequence starts with a call booking, our walkthrough on finishing a Calendly integration shows how to get that trigger onto the page.
Consent, unsubscribes and deliverability
Automation multiplies mistakes. One bad setup sends the same bad email to everyone, every time. Get the basics right first.
Consent and records
Providers set their own rules on top of the law. One sender policy requires active and separate consent for commercial messages, an opt-out link in non-transactional emails, and an unsubscribe process that takes no more than two clicks and needs no login. The same policy suggests storing the signup date and time, IP address, and the form URL and language. That fits the contact store described above: record the source and timestamp on every signup.
Unsubscribes and physical address
If you send to US recipients, CAN-SPAM applies. One survey and email platform, for example, requires a physical address in the footer of every email campaign and compliance with CAN-SPAM even for senders outside the US. Check your provider’s current rules, and ask a lawyer if your situation is unusual, such as sending in several countries.

Authentication for bulk senders
If you send in volume, mailbox providers expect proof that the mail is yours. Under Gmail’s sender rules (as of August 2026), bulk senders sending close to 5,000 or more messages to personal Gmail accounts in 24 hours must authenticate with SPF and DKIM, publish DMARC (p=none is accepted) and align the From domain. The same guide says bulk senders must offer RFC 8058 one-click unsubscribe headers plus a visible link in the body, and honor opt-outs within two days.
Most small senders stay under that volume. Set the authentication up anyway. It is a one-time job, and it protects your inbox placement as you grow.
Measuring whether it works
Track three numbers at the email level: open rate, click-through rate and unsubscribe rate. The same guide treats an unsubscribe rate below 0.5% per email as acceptable. If one email in a sequence sits well above that, rewrite it or cut it.
Behavior also matters. One vendor reports that behavior-triggered emails drive 41% higher click-through rates. Treat that as a vendor figure and compare it against your own baseline.
Opens and clicks are only half the story. The other half is what happens on your site after the click. Set up conversion tracking on the landing page so you can tie each email to a signup, a booking or a sale. Our guide on tracking landing page conversions lists five metrics and a setup checklist.
A simple review rhythm works:
- Weekly for the first month: check unsubscribes and bounces.
- Monthly: compare each email’s clicks and the conversions behind them.
- Quarterly: retire emails that no longer earn their place.
Our perspective
Most people start with the email tool and treat the website as an afterthought. We think that is backwards. The site is where the data is born. If the form is vague, the consent is unclear or the purchase event never reaches your email tool, the best sequence in the world has nothing to work with.
That is why we built WebsitePublisher as a full-stack AI web platform. Forms, data, payments, email and hosting are already in place, so the websites and apps your AI assistant builds can capture clean contacts from day one. With 140+ integrations, your assistant connects tested pieces instead of writing glue code that nobody has checked.
We also think you should not be locked into one AI. Project memory and task history stay across sessions and assistants. If you start in ChatGPT and move to Claude or Mistral, the project and its context come with you.
Our advice: build the capture side properly, connect one workflow, measure it, then grow.
Build the site side with WebsitePublisher
If you already use ChatGPT, Claude, Mistral or Cursor, you can have your assistant build and publish the website and app side of your email marketing automation. In ChatGPT, add the WebsitePublisher app (@WebsitePublisher), which works on ChatGPT Free and Plus. Ask for the landing page, the signup form, the data store and the thank-you flow. Then connect your email tool. See what the AI web platform includes, check which AI platforms connect, and compare plans on the pricing page.
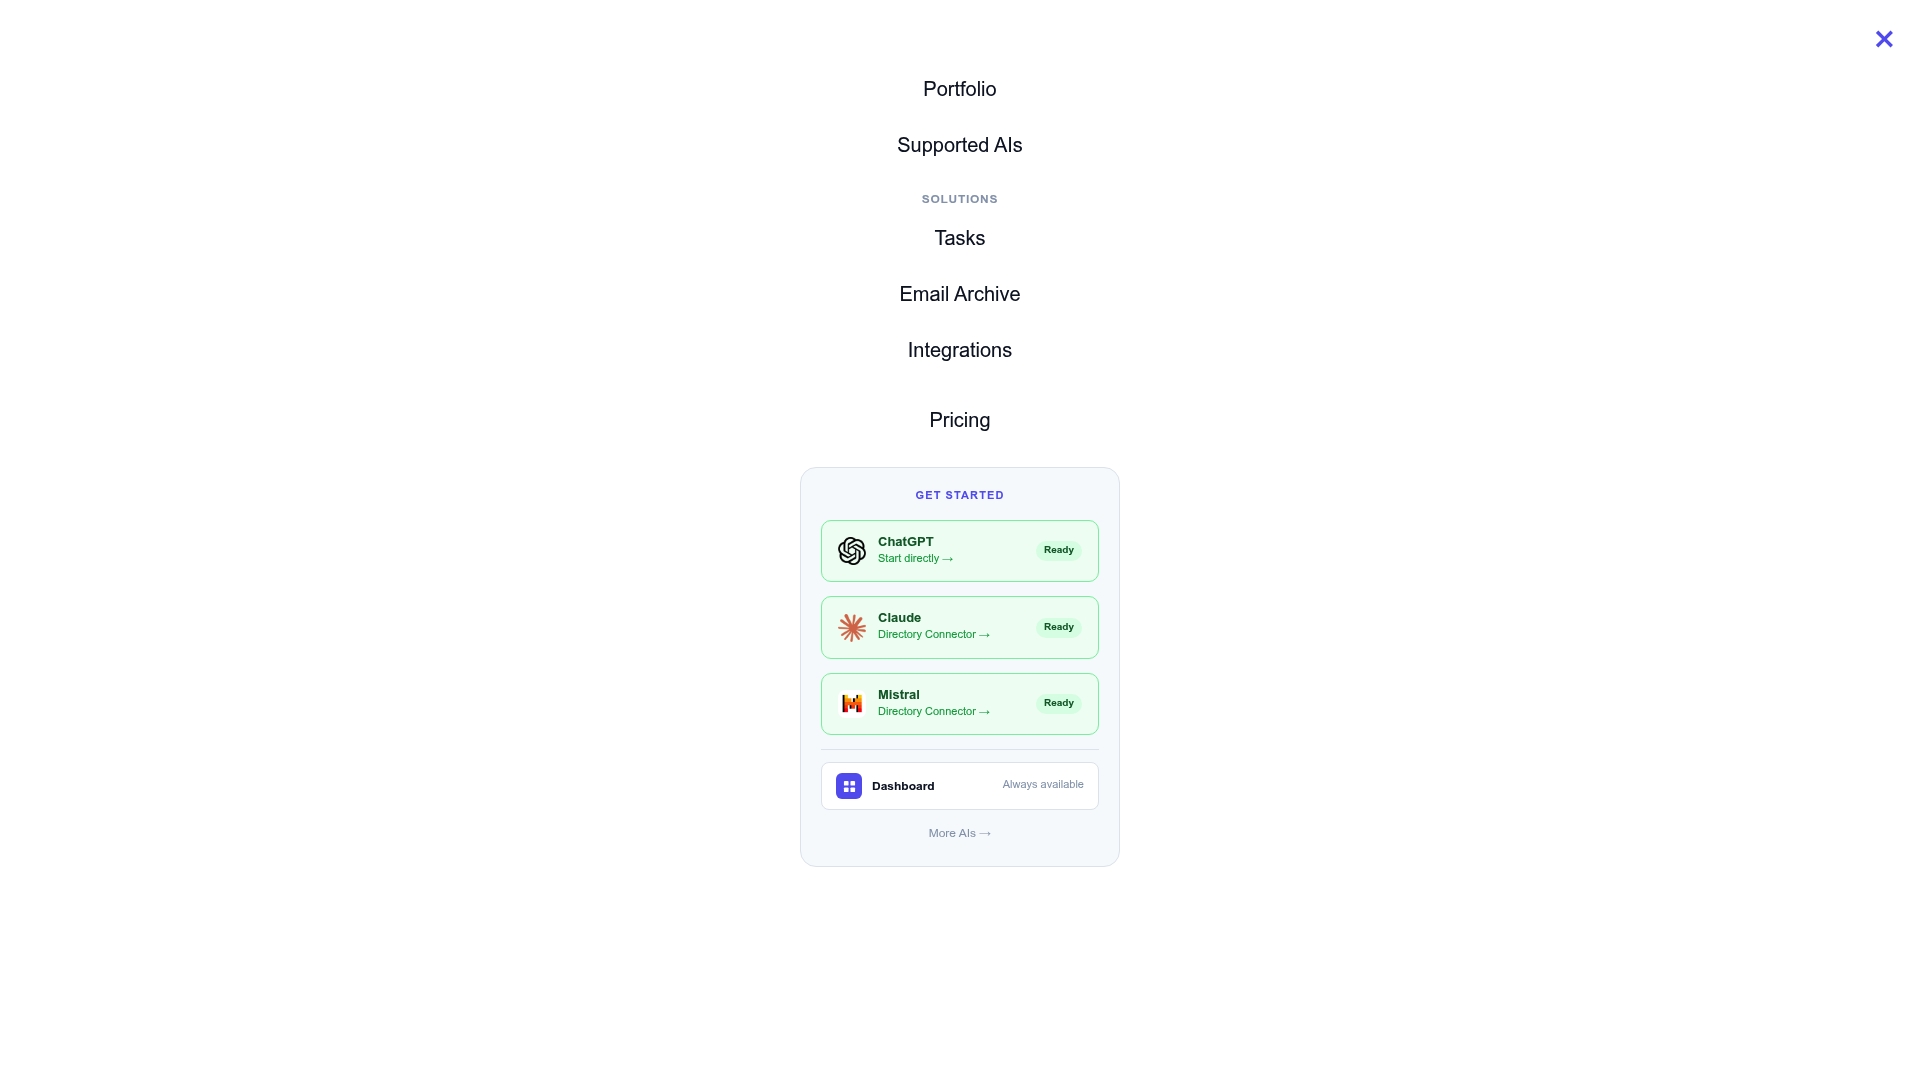
Start with a prompt like: “I want to build a website using WebsitePublisher with a lead form and a welcome page.” Every change is live immediately, so you see the result as you go.
FAQ
What is the difference between an email marketing tool and an email marketing automation website?
The email tool sends messages and runs the rules. The website produces the triggers: signups, purchases and bookings. You need both, and the quality of your site data decides how well the automation performs.
Can I set up email marketing automation without coding?
Yes. Most email platforms offer visual workflow builders. On the site side, your AI assistant can build the forms, pages and data store through the WebsitePublisher connector, and you can edit content later in the visual browser editor. Webhooks and API connections are optional for more advanced setups.
How many emails should a welcome series have?
One small-business guide outlines a series of 3 to 5 emails. Start with three, check your click and unsubscribe rates, and add more only if people keep engaging.
Does WebsitePublisher send the automated emails itself?
WebsitePublisher builds and publishes your websites and apps and includes email as part of its built-in backend. For multi-step automation rules, connect the email tool you prefer through one of our 140+ integrations, a webhook or an API.
Sources
- What is Email Marketing Automation? A Beginner’s Guide
- What is email automation?
- Email Marketing Automation for Small Businesses: What to Automate
- Email Marketing Automation Guide for Small Businesses
- Building Email Marketing Systems: A Complete Step-by-Step Guide
- Email automation: workflows, tools, and campaign examples
- Email CRM Integration: Unified Communication Guide
- Email Automation: How to Send Automated Email Campaigns
- Acceptable Use Policy
- Email Campaign FAQs
- Google & Yahoo Sender Requirements 2026
Recommended
- Embed Mailchimp on Your Site: Menus, Where to Paste Code, Opt in Tips
- Wire Email Capture Forms in 8 Steps for Marketers and Stop Spam
- How to Connect Your CRM to Your Website: 5 Methods and a Setup
Build your site the same way
Describe what you want. Your AI builds and publishes it — with the full stack behind it: data, auth, forms, payments, integrations and hosting.
See how it works →