 Website


connect custom domain
Connect a Custom Domain: Exact A, CNAME, TXT Steps for Any Registrar
Step by step registrar agnostic instructions to connect your custom domain. Exact A, CNAME, and TXT entries, verification tips, and fixes for common DNS...
Yes, you add the domain in your site dashboard first, then paste the DNS records your platform shows into your registrar’s control panel. Verification and SSL usually finish within a few hours, though full propagation can stretch to 48 hours in rare cases. If you’re pointing a root domain (example.com), you’ll use an A record; if you’re pointing a subdomain like www, you’ll use a CNAME instead.
TL;DR:
- Using an A record for the apex domain requires pointing to the IP address provided by your platform, which is essential for proper root domain setup.
- Conflicting or outdated DNS records, especially old A or CNAME entries, are among the most common causes of connection failures, so removing or updating them is critical.
- DNS propagation delays can stretch up to 48 hours in rare cases, but lower TTL values typically speed up verification and SSL provisioning times.
- Proper configuration of CAA records is vital, as restrictive settings may prevent SSL certificates from being issued, leading to verification failures.
- Prioritizing accurate record setup and verification over rapid deployment prevents issues like broken SSL, delayed propagation, or unnecessary support requests.
Table of Contents
- Prerequisites: What You Need Before You Connect a Custom Domain
- How to Add Your Custom Domain in Your Platform Dashboard
- Configuring the DNS Records Your Registrar Needs
- How Domain Verification and SSL Provisioning Actually Work
- Common Domain Connection Problems and How to Fix Them
- How WebsitePublisher.ai Handles Domain Connection
- What Actually Matters When You Connect a Domain
- Connect Your Domain and Launch Faster with WebsitePublisher.ai
- Where to Go for Platform-Specific Domain Help
- Sources
Prerequisites: What You Need Before You Connect a Custom Domain
Before you touch a DNS panel, confirm you’re actually the domain’s owner or have someone on your team who is, with login access to the registrar account. That sounds obvious until you’re mid-project and realize your web developer bought the domain two years ago under their own account.
You’ll also want to make a few decisions up front:
- Own the domain and know your registrar login. GoDaddy, Namecheap, Google Domains successors, and others all use different dashboard layouts, but the same underlying record types.
- Pick apex vs. subdomain now. Decide if visitors will type example.com, www.example.com, or a custom subdomain like app.example.com.
- Check your platform account permissions. Some site builders restrict domain settings to admin or owner roles.
- Screenshot your current DNS records before changing anything. If email or another service already uses that domain, you need a rollback reference.
- Learn your registrar’s field labels. “Host” or “Name” refers to the subdomain part, “TTL” is how long a record is cached, and “Value” or “Points to” is the destination.
How to Add Your Custom Domain in Your Platform Dashboard
Every major hosting platform, from static site hosts to full application builders, follows a nearly identical flow once you get past the interface skin. You’re looking for a section usually labeled Project Settings, Site Settings, or Domains.
- Navigate to domain settings. Look for “Custom Domains,” “Domains,” or a similar tab inside your project or site settings.
- Type the exact domain string. Enter example.com or www.example.com precisely. Typos here cause the most avoidable failures.
- Choose automatic or manual connection. Some platforms offer one-click connect if your registrar is a recognized partner; otherwise you’ll configure DNS manually.
- Review the records the platform generates. You’ll typically see an A record, a CNAME, and a TXT record, or in some cases a full nameserver set.
- Decide based on control needs. If you want granular control over email or subdomains hosted elsewhere, use individual records rather than handing over full nameservers.
Vercel’s setup flow is a good reference point here: it prompts for both the apex domain and the www variant, then lets you choose between an A record, a CNAME, or full nameserver delegation depending on how much of your DNS you want the platform managing.
Configuring the DNS Records Your Registrar Needs
This is where most delays happen, usually from one mistyped value. Here’s what each record type actually does and how to fill it in.
- A record (apex domains). For example.com, you point the “Host” field to @ and the “Value” to the IP address your platform provides. A records work because apex domains can’t point to another domain name at the DNS level, only to an IP.
- CNAME (subdomains). For www.example.com or app.example.com, the CNAME “Value” points to a hostname your platform issues, such as cname.yourplatform.com.
- TXT record (ownership and SSL challenges). These verify you control the domain and often support ACME challenges for certificate issuance. The host is usually something like _acme-challenge or a platform-specific prefix, and the value is a long verification string.
- Nameservers (full delegation). Instead of individual records, you point your domain’s nameservers entirely to your platform. This is faster to set up but means you lose granular control over records used by other services, like a separate email provider.
- CAA records (certificate authority authorization). These control which certificate authorities are allowed to issue SSL for your domain. Restrictive CAA records are a common, easily missed cause of SSL failures — if yours blocks letsencrypt.org or pki.goog and your platform relies on one of them, certificate issuance will silently fail.
Quick reference: GitHub Pages documentation confirms the same pattern used across nearly every host: A records for apex, CNAME for subdomains, TXT for verification. Once you know that, every platform’s dashboard becomes readable regardless of its labeling quirks.
How Domain Verification and SSL Provisioning Actually Work
Once your DNS records are saved, your platform checks for them, confirms ownership, then issues a certificate. You’ll typically see status labels like “pending,” “provisioning,” or “connected” as it moves through the process.
- TXT verification confirms you control the domain before anything else happens.
- HTTP or DNS-based ACME challenges let the platform prove domain control to the certificate authority.
- SSL provisioning often completes within a few hours, though Firebase’s own documentation notes it can take up to 24 hours, and rare edge cases stretch further.
- Test manually with
digornslookupfrom a terminal, or an online propagation checker, to confirm your records are live before assuming something’s broken. - Check the browser padlock once the platform reports “connected.” If it’s missing or shows a warning, the certificate hasn’t finished issuing yet.
Delays usually trace back to a restrictive CAA record, a stale verification token, or a proxy service like Cloudflare intercepting traffic before your host can see it.
Common Domain Connection Problems and How to Fix Them
Most failures fall into a handful of repeatable categories. Work through these in order before contacting support.
- Confirm propagation first. Lower TTL values mean faster updates; a TTL of 3600 seconds (one hour) propagates faster than one set to 86400 (24 hours).
- Recheck host and value fields. A single extra character in a CNAME target, or a leftover www when the field expects only @, breaks the whole chain.
- Remove conflicting records. An old A record pointing to a previous host will conflict with a new one; delete it rather than adding a duplicate.
- Pause proxying services. If you use Cloudflare, switch the record to “DNS only” during verification, then re-enable proxying afterward if you want it.
- Fix SSL issuance failures. Update CAA records to allow your platform’s certificate authority, then re-trigger verification since stale challenge tokens don’t always retry automatically.
Pro Tip: Keep a text file with every DNS record you’ve added, when you added it, and which platform requested it. When something breaks eighteen months later, you’ll thank yourself for not having to reverse-engineer your own setup.
How WebsitePublisher.ai Handles Domain Connection
Domain settings inside WebsitePublisher.ai live in Project Settings, where you can choose automatic connection or manual DNS entry depending on how much control you want. The platform generates the exact A, CNAME, and TXT records you need and walks you through pasting them into your registrar.
What makes the process notably less painful:
- 104+ built-in integrations mean email, payments, and lead capture don’t require separate DNS configurations once your domain is connected.
- Conversational deployment lets you describe a landing page in plain language and have it live under your connected domain in minutes, not hours.
- In-browser editing means content and design changes happen directly in your project, not locked inside a single AI chat session.
Follow the platform’s own domain setup documentation for the exact guided flow, since screens are updated as features expand.
What Actually Matters When You Connect a Domain
Most guides on this topic bury the useful information under generic warnings about “being patient” with DNS. That’s not wrong, but it’s not the point either. The real failure mode isn’t waiting too long. It’s touching the wrong field, saving a record with a typo, and then waiting patiently for something that was never going to resolve.
If there’s one piece of conventional wisdom worth pushing back on, it’s the advice to “just use nameservers, it’s easier.” It is easier, until you need email hosted somewhere else, or a subdomain pointed at a different service, and suddenly your platform controls records it has no business controlling. Individual A, CNAME, and TXT records take five more minutes to set up and save you a migration headache later.
Prioritize verification over speed. A domain that’s technically “connected” but hasn’t finished SSL provisioning will scare visitors with a browser warning faster than a slow DNS propagation ever will. Get the records right the first time, confirm with dig before you assume, and only then move on to the parts of your site that are actually fun to build.
Connect Your Domain and Launch Faster with WebsitePublisher.ai
Once your domain is pointed correctly, the harder work is building a site worth putting behind it, and that’s where WebsitePublisher.ai does the heavy lifting. Instead of manually configuring hosting, email, and payment integrations one by one, you describe what you want in plain language and the platform assembles it, with your custom domain, SSL, and 104+ integrations already built to work together.
If you’re still shopping for a domain, WebsitePublisher.ai’s domain registration options cover the major extensions, from .com to .ai. If you already own one and want to see the connection flow in action, visit the AI Website Builder page and start a free trial. You’ll have your domain connected and a live project running well before the afternoon is over.
Where to Go for Platform-Specific Domain Help
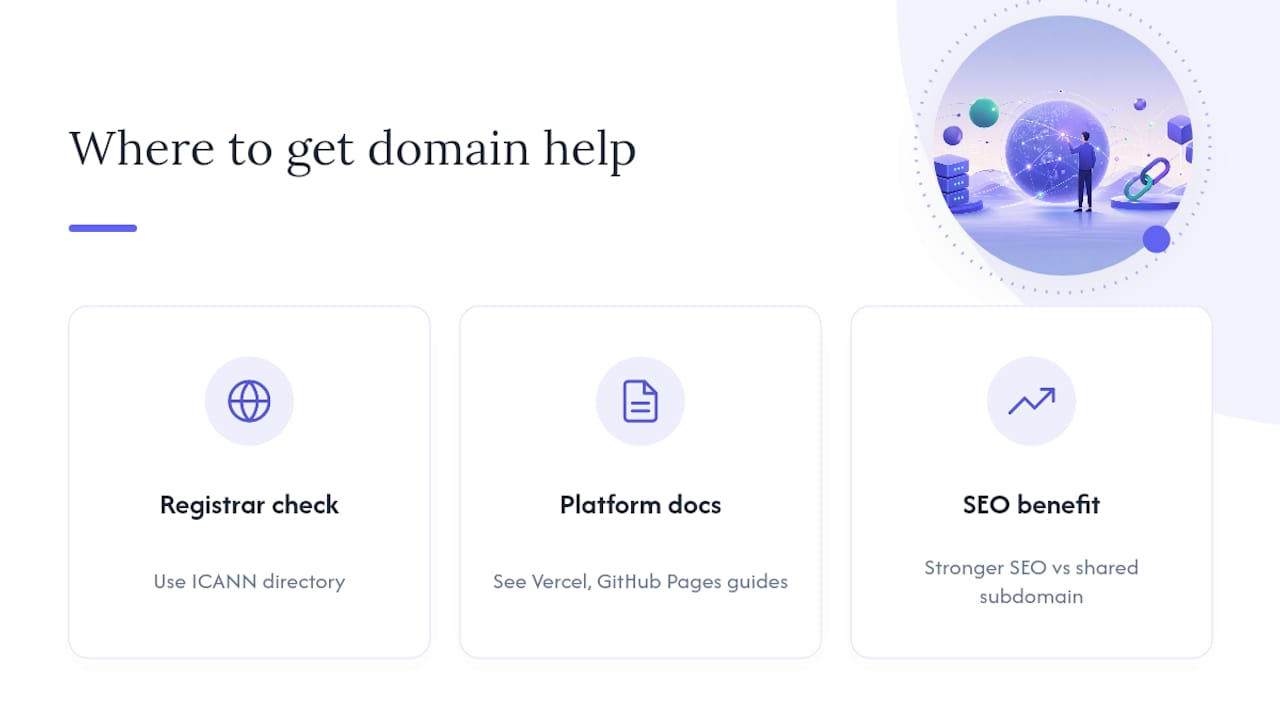
Dashboard labels vary by host, so when in doubt, check the source. The ICANN accredited registrar directory confirms whether your registrar is legitimate, and platform docs like Vercel’s domain guide and GitHub Pages’ custom domain documentation cover exact UI steps. A well-configured custom domain also strengthens SEO compared to a shared subdomain.
Sources
- Managing a custom domain for your GitHub Pages site — GitHub Docs
- Connect a custom domain — Firebase Hosting docs
- Add and configure a custom domain — Vercel Docs
Recommended
Build your site the same way
Describe what you want. Your AI builds and publishes it — with a real backend behind it.
See how it works →